How to Use Git and Git Bash Locally: A Comprehensive Guide


Introduction
Git is a distributed version control system that helps you track changes in your code, collaborate with others, and maintain a history of your project. Git Bash is a terminal application for Windows that provides a Unix-like command-line experience for using Git.
This guide will walk you through setting up Git, using Git Bash, and mastering essential Git commands for local development.
Installation
Windows
- Download Git for Windows from git-scm.com
- Run the installer with default options (or customize as needed)
- Git Bash will be installed automatically as part of the package
macOS
- Install Git using Homebrew: brew install git
- Alternatively, download from git-scm.com
Linux
- For Debian/Ubuntu: sudo apt-get install git
- For Fedora: sudo dnf install git
- For other distributions, use the appropriate package manager
Verifying Installation
Open Git Bash (Windows) or Terminal (macOS/Linux) and type:
This should display the installed Git version.
Git Bash Basics
Git Bash provides a Unix-like shell experience on Windows. Here are some essential commands:
Navigation Commands
- pwd – Print working directory
- ls – List files and directories
- cd [directory] – Change directory
- mkdir [directory] – Create a new directory
- rm [file] – Remove a file
- rm -r [directory] – Remove a directory and its contents
File Operations
- touch [filename] – Create an empty file
- cat [filename] – Display file contents
- nano [filename] or vim [filename] – Edit files in the terminal
Keyboard Shortcuts
- Ctrl + C – Terminate the current command
- Ctrl + L – Clear the screen
- Tab – Auto-complete commands or filenames
- Up/Down arrows – Navigate through command history
Git Configuration
Before using Git, configure your identity:


Additional Configurations
Set your default editor:

Enable colorful output:

View all configurations:

Basic Git Workflow
Initializing a Repository
Navigate to your project folder and initialize a Git repository:

Checking Status
See which files are tracked, modified, or staged:

Staging Files
Add files to the staging area:

Committing Changes
Save staged changes to the repository:

Or open an editor to write a more detailed commit message:

Viewing Commit History

Branching and Merging
Working with Branches
Create a new branch:

Switch to a branch:

Create and switch to a new branch in one command:

List all branches:

Merging Branches
Merge changes from another branch into your current branch:

Handling Merge Conflicts
When Git can’t automatically merge changes, you’ll need to resolve conflicts:
- Git will mark the conflicted files
- Open the files and look for conflict markers (<<<<<<<, =======, >>>>>>>)
- Edit the files to resolve conflicts
- Add the resolved files: git add <filename>
- Complete the merge: git commit
Deleting Branches
Delete a branch after merging:

Remote Repositories
Adding a Remote Repository

Viewing Remote Repositories

Pushing to a Remote Repository

Pulling from a Remote Repository

Cloning a Repository

Advanced Git Commands
Stashing Changes
Temporarily store modified files to work on something else:

Reverting Changes
Undo commits:

Reset to a previous state (use with caution):

Viewing and Comparing Changes

Interactive Rebase
Rewrite, squash, or reorder commits:

Troubleshooting
Common Issues and Solutions
Problem: “fatal: not a git repository”
- Solution: Make sure you’re in the correct directory or initialize a repository with git init
Problem: Unable to push to remote repository
- Solution:
- Check if you have the correct permissions
- Pull latest changes first: git pull origin main
- Check if remote URL is correct: git remote -v
Problem: Merge conflicts
- Solution: Resolve conflicts manually, then git add the resolved files and git commit
Problem: Accidental commit
- Solution: Use git reset –soft HEAD~1 to undo the last commit while keeping changes
Git Best Practices
- Commit frequently with clear, descriptive commit messages
- Create branches for new features or bug fixes
- Pull before pushing to minimize conflicts
- Write meaningful commit messages that explain why changes were made
- Use .gitignore to exclude unnecessary files (build artifacts, dependencies, etc.)
- Review changes before committing with git diff and git status
- Keep commits focused on a single logical change
- Use tags for marking releases or important milestones
- Back up your repositories regularly
- Document your Git workflow for team collaboration
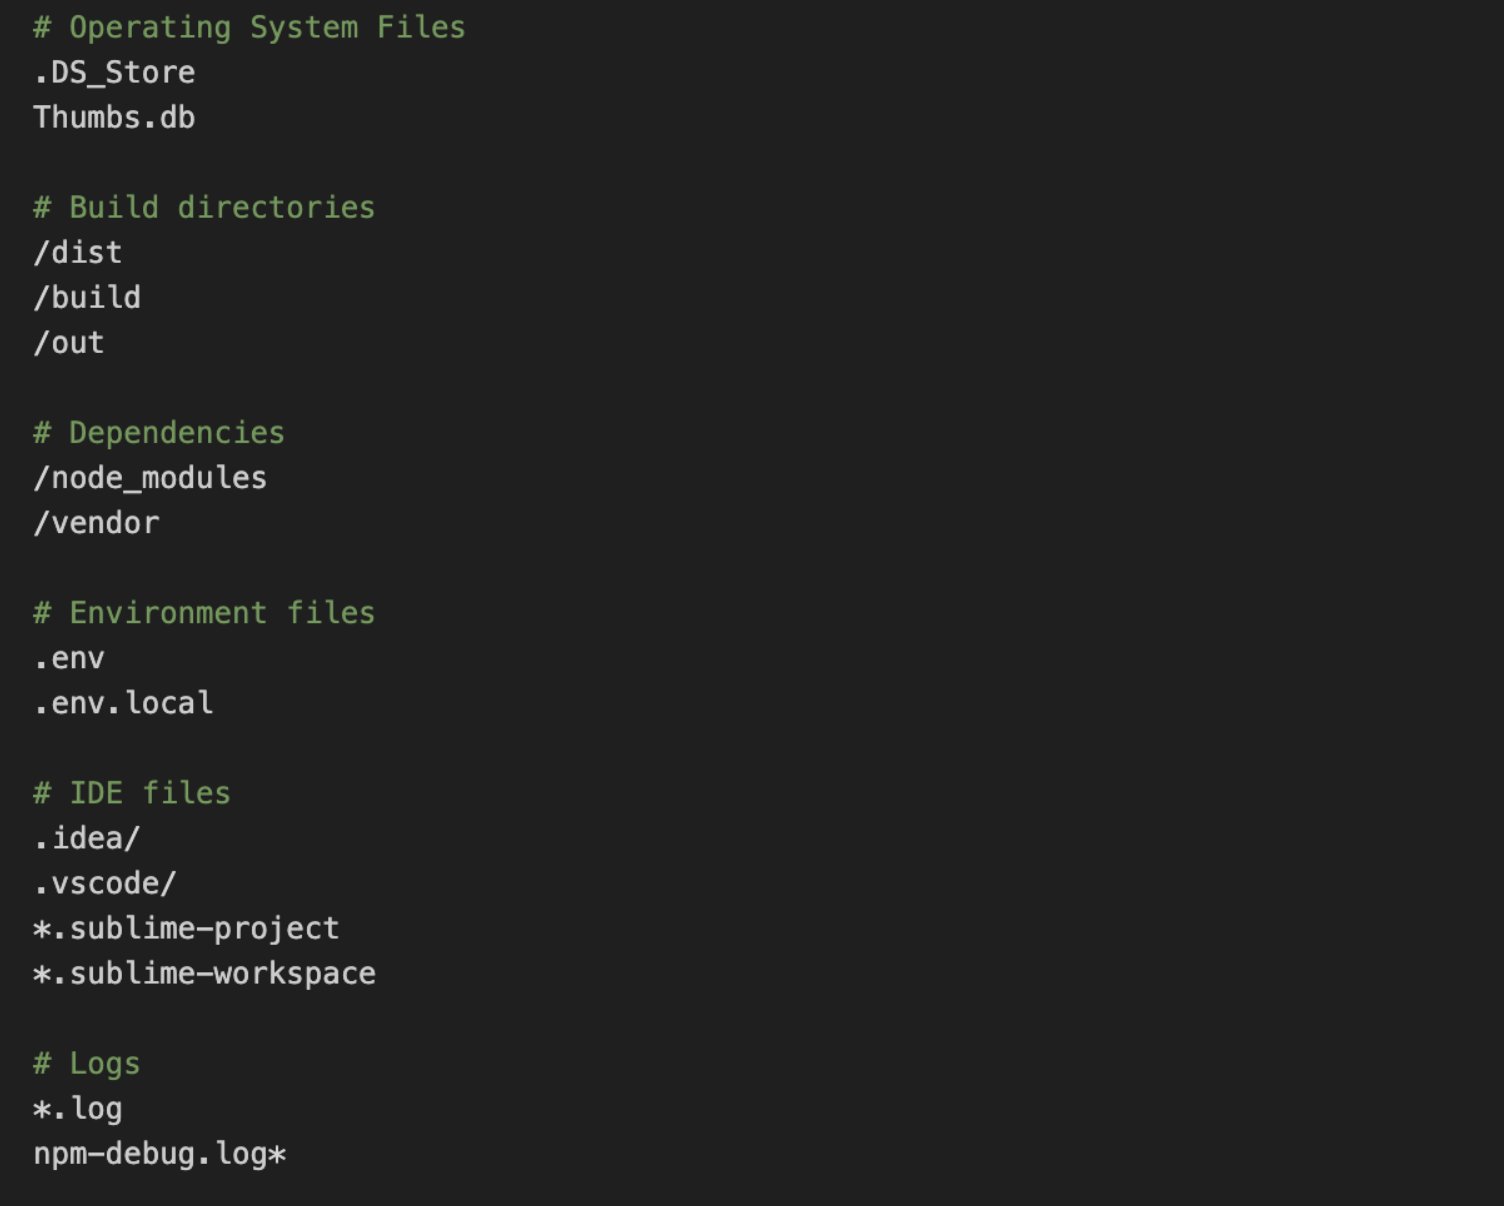
.gitignore Example
Create a .gitignore file in your repository root:

Customize this file according to your project’s specific needs.
Conclusion
Git and Git Bash provide powerful tools for version control and collaborative development. In this guide, we covered installation across platforms, essential Git Bash commands, repository initialization, the core add-commit workflow, branching strategies, remote repository management, and advanced operations like stashing and rebasing. We also addressed common troubleshooting scenarios and best practices to maintain a clean workflow. With these fundamentals, you’re now equipped to track changes, collaborate effectively, and maintain a structured history of your projects.
Nikhil is an intern consultant at Marktechpost. He is pursuing an integrated dual degree in Materials at the Indian Institute of Technology, Kharagpur. Nikhil is an AI/ML enthusiast who is always researching applications in fields like biomaterials and biomedical science. With a strong background in Material Science, he is exploring new advancements and creating opportunities to contribute.
